
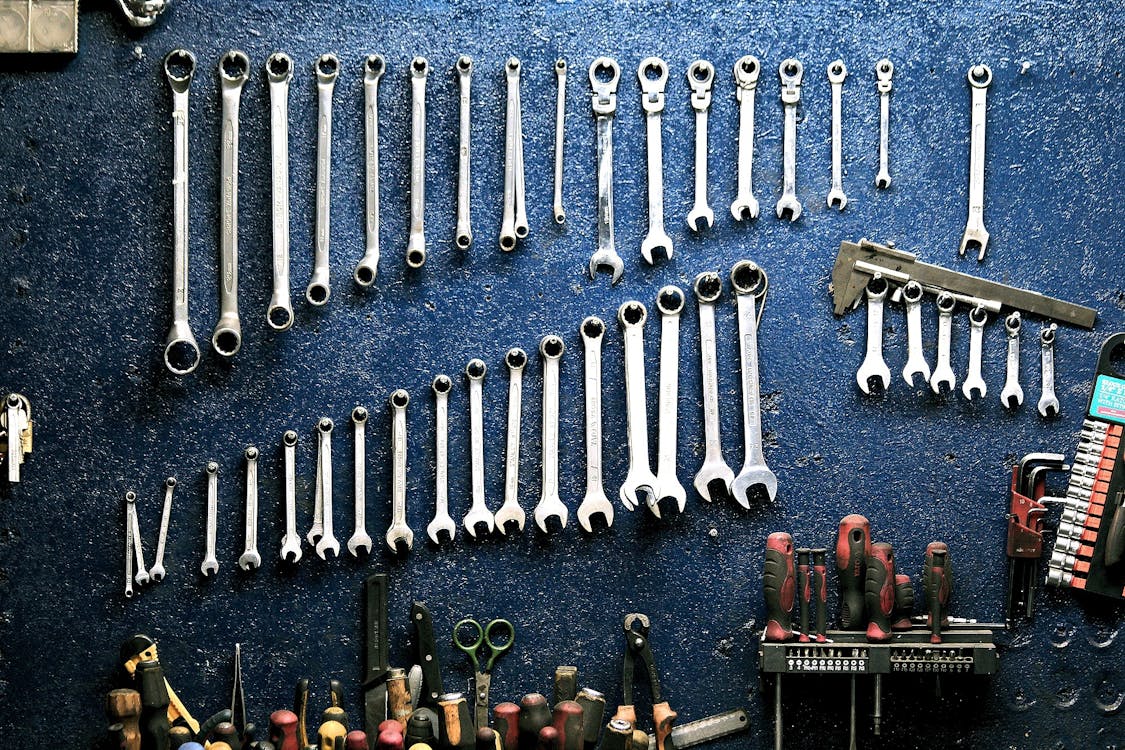
If you’ve ever reached for a wrench only to find it crusted with rust, or pulled out a power drill that stutters and dies mid-job, you already know the frustration of neglected tools. Most homeowners invest hundreds — sometimes thousands — of dollars in their tool collection, yet surprisingly few take the time to maintain them properly. The result? Shorter tool lifespans, unreliable performance, and projects that take twice as long as they should.
I’ve been doing my own home repairs for over a decade, and I’ll admit that tool maintenance wasn’t always on my radar. It took a ruined reciprocating saw blade and a seized-up pipe wrench during an emergency plumbing fix to convince me that a little preventive care goes a long way. Since then, I’ve developed a maintenance routine that keeps every tool in my workshop performing like new — and I’m going to share exactly how you can do the same.
Why Tool Maintenance Matters More Than You Think
Let’s start with the obvious: well-maintained tools last longer. A quality set of hand tools can serve you for 20 to 30 years if you treat them right. But longevity isn’t the only benefit. Sharp, clean, properly calibrated tools are safer to use. A dull chisel, for instance, requires more force to cut — and that extra force is exactly what causes slips and injuries. According to the Consumer Product Safety Commission, hand tools account for roughly 400,000 emergency room visits each year in the United States, and a significant portion of those injuries are linked to tools in poor condition.
There’s also the performance angle. A well-oiled adjustable wrench grips better. A sharp handsaw cuts straighter with less effort. A clean power drill runs cooler and delivers consistent torque. When your tools work the way they’re supposed to, your projects go smoother, faster, and look more professional when they’re done.
Hand Tool Maintenance: The Foundation of Every Workshop
Hand tools are the backbone of home repair work. Hammers, screwdrivers, pliers, wrenches, chisels, handsaws — these are the tools you reach for most often, and they’re also the ones most likely to be tossed into a drawer without a second thought. Here’s how to keep them in top shape.
Cleaning After Every Use
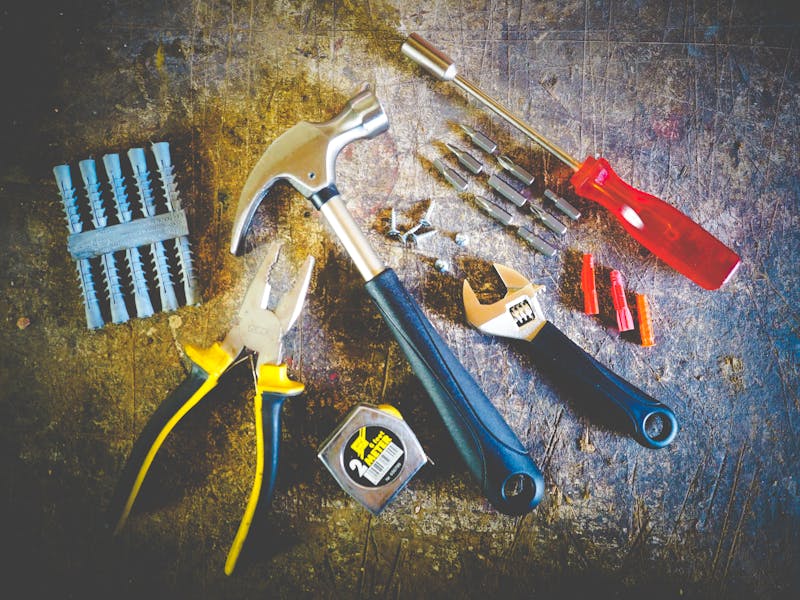
This sounds basic, but it’s the single most impactful habit you can develop. After each use, wipe your tools down with a clean rag to remove dust, moisture, and debris. For stubborn grime — think dried caulk on a putty knife or concrete residue on a trowel — use a wire brush or a rag dampened with mineral spirits. The goal is to remove anything that could trap moisture against the metal surface, because moisture is the number one enemy of steel tools.
For tools that have gotten truly grimy, a soak in white vinegar for 15 to 30 minutes can work wonders. The acetic acid dissolves light rust and loosens caked-on debris. After soaking, scrub with a nylon brush, rinse with clean water, dry thoroughly, and apply a light coat of oil. I use 3-IN-ONE Multi-Purpose Oil for this, but WD-40, camellia oil, or even a light machine oil will do the job.
Rust Prevention and Treatment
Rust is the slow killer of hand tools. It weakens metal, roughens surfaces, and makes moving parts stiff and unreliable. Prevention is always better than treatment, so here are the strategies that actually work.
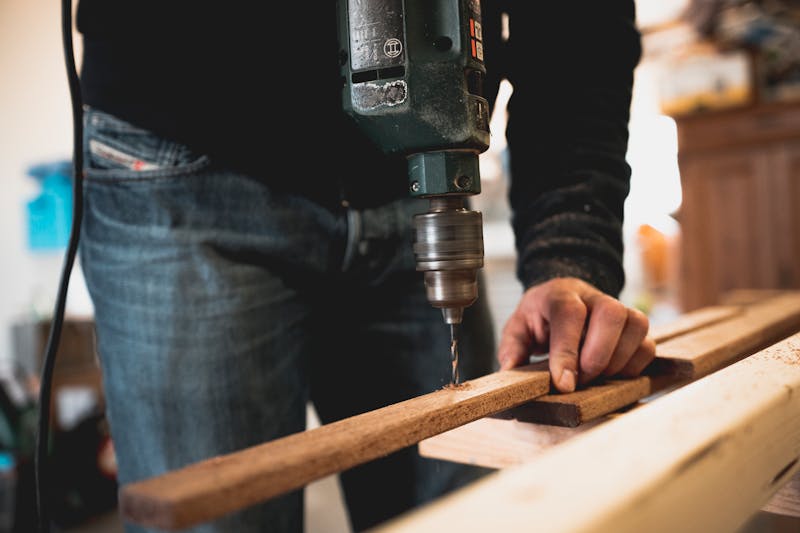
First, control humidity in your storage area. If your tools live in a garage or basement, consider adding a dehumidifier or using silica gel packets in your toolbox drawers. Keeping relative humidity below 50% dramatically slows rust formation. Some people toss a few pieces of chalk into their toolbox — chalk absorbs moisture surprisingly well and costs almost nothing.
Second, apply a protective coating. After cleaning, a thin layer of paste wax (the same stuff you’d use on furniture) creates an excellent moisture barrier on tool surfaces. For tools you won’t use for a while, a heavier coating of tool oil or even a spray-on rust inhibitor like Boeshield T-9 provides longer-lasting protection.
If rust has already set in, don’t panic. Light surface rust can be removed with fine steel wool (0000 grade) or a rust eraser block. For heavier rust, soak the tool in a solution of white vinegar or use a commercial rust remover like Evapo-Rust. Severely rusted tools might need wire wheel treatment on a bench grinder, but that’s a last resort — you’ll remove some metal along with the rust.
Sharpening Cutting Tools
Chisels, planes, utility knives, handsaws, tin snips — any tool with a cutting edge needs regular sharpening. The frequency depends on use, but a good rule of thumb is this: if you have to push noticeably harder than when the tool was new, it’s time to sharpen.
For chisels and plane blades, a combination sharpening stone (1000/6000 grit) is the most versatile option. Wet the stone, hold the blade at the correct bevel angle (usually 25 to 30 degrees for bench chisels), and work it across the stone in smooth, consistent strokes. Finish on the fine side for a razor edge. You can also use a honing guide to maintain a consistent angle if you’re not confident doing it freehand.
For handsaws, a triangular saw file matched to your saw’s teeth per inch (TPI) is what you need. Filing saw teeth is a bit of an art, but there are plenty of excellent tutorials available, and the skill is absolutely worth learning. A sharp handsaw is a joy to use; a dull one is pure misery.
Handle Maintenance
Wooden handles on hammers, axes, and older hand tools need attention too. Inspect them regularly for cracks, splinters, or looseness. A loose hammerhead is genuinely dangerous — it can fly off mid-swing and cause serious injury.
To maintain wooden handles, sand them lightly with 220-grit sandpaper once or twice a year to remove splinters and rough spots, then apply boiled linseed oil. The oil soaks into the wood grain, keeping the handle supple and resistant to cracking. Two or three coats, with drying time between each, will keep a handle in excellent condition for years. Avoid varnish or polyurethane — they create a slick surface that’s harder to grip and can blister with heavy use.
Power Tool Maintenance: Protecting Your Investment
Power tools represent a bigger financial investment and have more complex maintenance needs than hand tools. But the principles are the same: keep them clean, keep them lubricated, and address problems early before they become expensive repairs.
Cordless Drill and Impact Driver Care
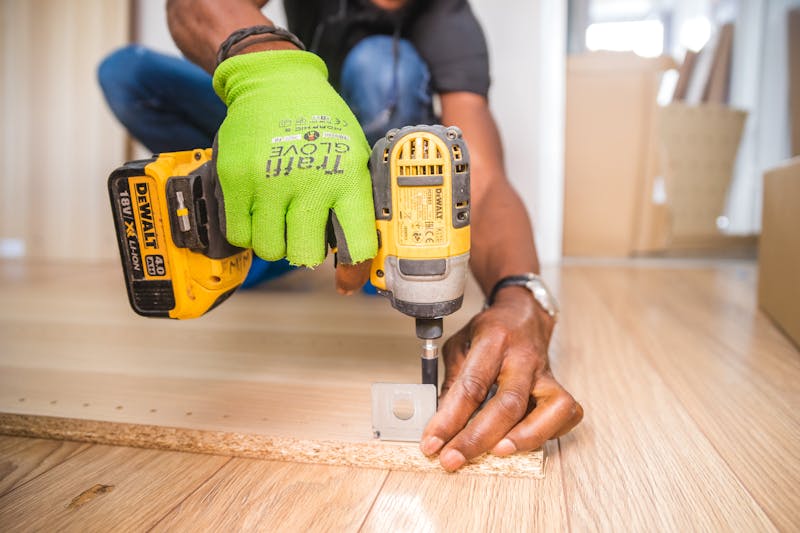
These are probably the most-used power tools in any home workshop. After each use, blow out the ventilation slots with compressed air to remove dust that can clog the motor and cause overheating. Check the chuck regularly — open and close it a few times and make sure it grips bits firmly without wobble. A wobbly chuck means worn jaws, and replacement chucks are inexpensive and easy to install.
For the battery, proper charging habits make a huge difference in lifespan. Lithium-ion batteries (which are standard now) prefer partial charges over full drain-and-recharge cycles. Don’t leave batteries on the charger indefinitely after they’re full, and store them at around 40% to 60% charge if you won’t be using them for an extended period. Extreme temperatures are the enemy — never leave batteries in a hot car or a freezing garage overnight.
Circular Saw and Miter Saw Maintenance
Saws generate a lot of dust and debris, which means regular cleaning is critical. After each use, unplug the saw (or remove the battery) and use compressed air to blow out the motor housing, blade guard, and dust collection port. Inspect the blade for missing or damaged teeth — even one damaged tooth can cause rough cuts, kickback, or burning.
The blade itself benefits from periodic cleaning. Pitch and resin from cutting wood build up on the teeth and body of the blade, reducing cutting efficiency and generating extra heat. Soak the blade in a shallow pan of blade cleaner (or Simple Green works well as a budget alternative) for 10 to 15 minutes, then scrub with a brass brush. The difference in cut quality after cleaning a gunked-up blade is remarkable — it’s like getting a brand new blade for free.
Check the alignment of your miter saw fence and blade angle indicators at least once a year. Even small deviations can lead to cuts that are off by enough to ruin trim work or cause joints that don’t close properly. A reliable combination square is all you need to check and adjust alignment on most saws.
Sander and Planer Maintenance
Sanders collect fine dust in every crevice, so thorough cleaning after each use is essential. Empty the dust bag or canister, blow out the housing with compressed air, and check the sanding pad for wear. On random orbit sanders, the hook-and-loop pad eventually wears out and stops holding sandpaper discs securely. Replacement pads are cheap and take about five minutes to swap out.
For planers, keep the feed rollers clean and wax the bed periodically with paste wax to reduce friction. Planer blades should be sharpened or replaced when you notice tear-out increasing or the surface finish degrading. Most benchtop planers use disposable double-sided blades — just flip them when one side dulls, then replace the set when both sides are done.
Storage: The Often-Overlooked Maintenance Step
How and where you store your tools is just as important as how you clean them. Poor storage undoes all your maintenance work by exposing tools to moisture, dust, and physical damage.

Organizing Your Workshop
Wall-mounted pegboard or slat wall systems are ideal for frequently used hand tools. They keep tools visible, accessible, and off surfaces where moisture can collect underneath them. For less frequently used tools, a quality toolbox or tool chest with lined drawers provides good protection.
Power tools should be stored in their original cases whenever possible. Those cases are designed to protect the tool during transport and storage, and they keep accessories organized. If you’ve lost the case, a shelf with a cloth cover works as a reasonable alternative — just make sure the tool is clean and dry before putting it away.
Climate Control Considerations
If your workshop is in an unheated garage or basement, temperature and humidity swings are your biggest enemy. A small dehumidifier running during humid months can save you from dealing with rust on every metal surface in the space. Some people use a tool chest with a built-in heating rod (essentially a low-wattage heater that keeps the interior a few degrees above ambient temperature) to prevent condensation.
During winter in cold climates, bring cordless tool batteries inside the house. Lithium-ion batteries lose capacity in cold temperatures and can be damaged by repeated freeze-thaw cycles. The tools themselves are generally fine in the cold — it’s the batteries that need babying.
Building a Maintenance Schedule That Actually Sticks
The biggest challenge with tool maintenance isn’t knowing what to do — it’s actually doing it consistently. Here’s a practical schedule that balances thoroughness with realism.
After every use: Wipe down tools, remove debris, return to proper storage. This takes 2 to 5 minutes and prevents 80% of maintenance issues.
Monthly: Inspect cutting edges for sharpness. Check power tool cords and plugs for damage. Test battery charge levels. Oil any moving parts (plier joints, adjustable wrench mechanisms, drill chucks). Time commitment: about 20 to 30 minutes for an average collection.
Quarterly: Deep clean power tools with compressed air. Clean saw blades and router bits. Check wooden handles for cracks. Inspect storage area humidity levels. Apply fresh protective oil to hand tools. Budget about an hour for this.
Annually: Sharpen all cutting tools. Check power tool alignment and calibration. Replace worn parts (sanding pads, brushes, belts). Inventory your collection and note anything that needs replacement. Apply paste wax to all metal surfaces. This is your “spring cleaning” for tools and might take a Saturday morning.
Common Mistakes That Shorten Tool Life
Even well-intentioned DIYers sometimes make mistakes that damage their tools. Here are the most common ones I see — and I’ve been guilty of a few myself.
Using tools for the wrong purpose. A screwdriver is not a chisel, a wrench is not a hammer, and pliers are not a substitute for the right-sized socket. Using tools outside their intended purpose damages them and creates safety hazards. If you find yourself improvising, that’s a sign you need to add a specific tool to your collection.
Skipping the post-use wipe-down. It takes 30 seconds and prevents rust, corrosion, and buildup that shortens tool life by years. Make it automatic — like washing your hands after using the bathroom.
Storing tools loose in a bucket or drawer. Tools banging against each other damages cutting edges, chips chrome plating, and wears out socket markings. Use organizers, foam inserts, or at minimum a tool roll to keep them separated.
Ignoring early warning signs. A drill that’s running hotter than usual, a saw that vibrates more than it used to, a ratchet that skips — these are all signals that something needs attention. Catching problems early means cheap, easy fixes. Ignoring them means expensive replacements.
Over-tightening fasteners and adjustments. Whether it’s a chuck, a blade lock, or an adjustment knob, cranking it as tight as possible is counterproductive. You’ll strip threads, crack housings, and wear out mechanisms faster. Firm is fine; gorilla-tight is not.
Essential Maintenance Supplies to Keep on Hand
You don’t need a lot of specialized products to maintain your tools effectively. Here’s what I keep in my maintenance kit, and it covers everything I need.
A can of 3-IN-ONE oil or similar light machine oil handles lubrication for most applications. WD-40 is useful as a water displacer and light cleaner, but it’s not a great long-term lubricant — use actual oil for that. A can of compressed air (or better yet, a small air compressor with a blow nozzle) is invaluable for cleaning power tools. A tub of paste wax serves double duty for protecting tool surfaces and reducing friction on saw beds and planer tables.
For cleaning, keep mineral spirits, white vinegar, and a brass brush on hand. A combination sharpening stone handles most edge tools, and a set of fine files covers the rest. A few clean cotton rags, some 0000 steel wool, and a tube of silicone grease round out the kit. Total cost: maybe $40 to $50, and most of these supplies will last you years.
The Bottom Line
Tool maintenance isn’t glamorous, and it’s never going to be the exciting part of a home repair project. But it’s the difference between tools that serve you reliably for decades and tools that let you down when you need them most. The time investment is minimal — a few minutes after each use, a half hour each month, and a more thorough session once a quarter. In return, you get tools that perform better, last longer, and keep you safer.
Start small if you need to. Just committing to wiping down your tools after every use and storing them properly will make a noticeable difference within a few months. From there, you can add sharpening, deep cleaning, and seasonal maintenance as the habits take hold. Your tools are an investment in your ability to take care of your home — they deserve a little care in return.
Related Home Repair Guides
- Drywall Repair Guide: From Small Holes to Large Patches
Master drywall repair from tiny nail holes to large patches. Learn proper techniques for filling,… - Running Toilet Repair: Why Your Toilet Won’t Stop Running and How to Fix It in Under an Hour
That running toilet is wasting 200+ gallons per day. Learn how to fix it in… - 5 Warning Signs Your Water Heater Is About to Fail (And What Replacement Really Costs)
Is your water heater showing signs of failure? Learn the 5 warning signs and real… - Complete Weatherproofing Guide: Doors, Windows, and Foundation Sealing
Comprehensive weatherproofing guide covering windows, doors, foundations, and utility penetrations. Learn caulking, weather stripping, gap…